With immersive experiences that transport players to new worlds and provide an unparalleled level of interactivity, virtual reality gaming has taken the world by storm.
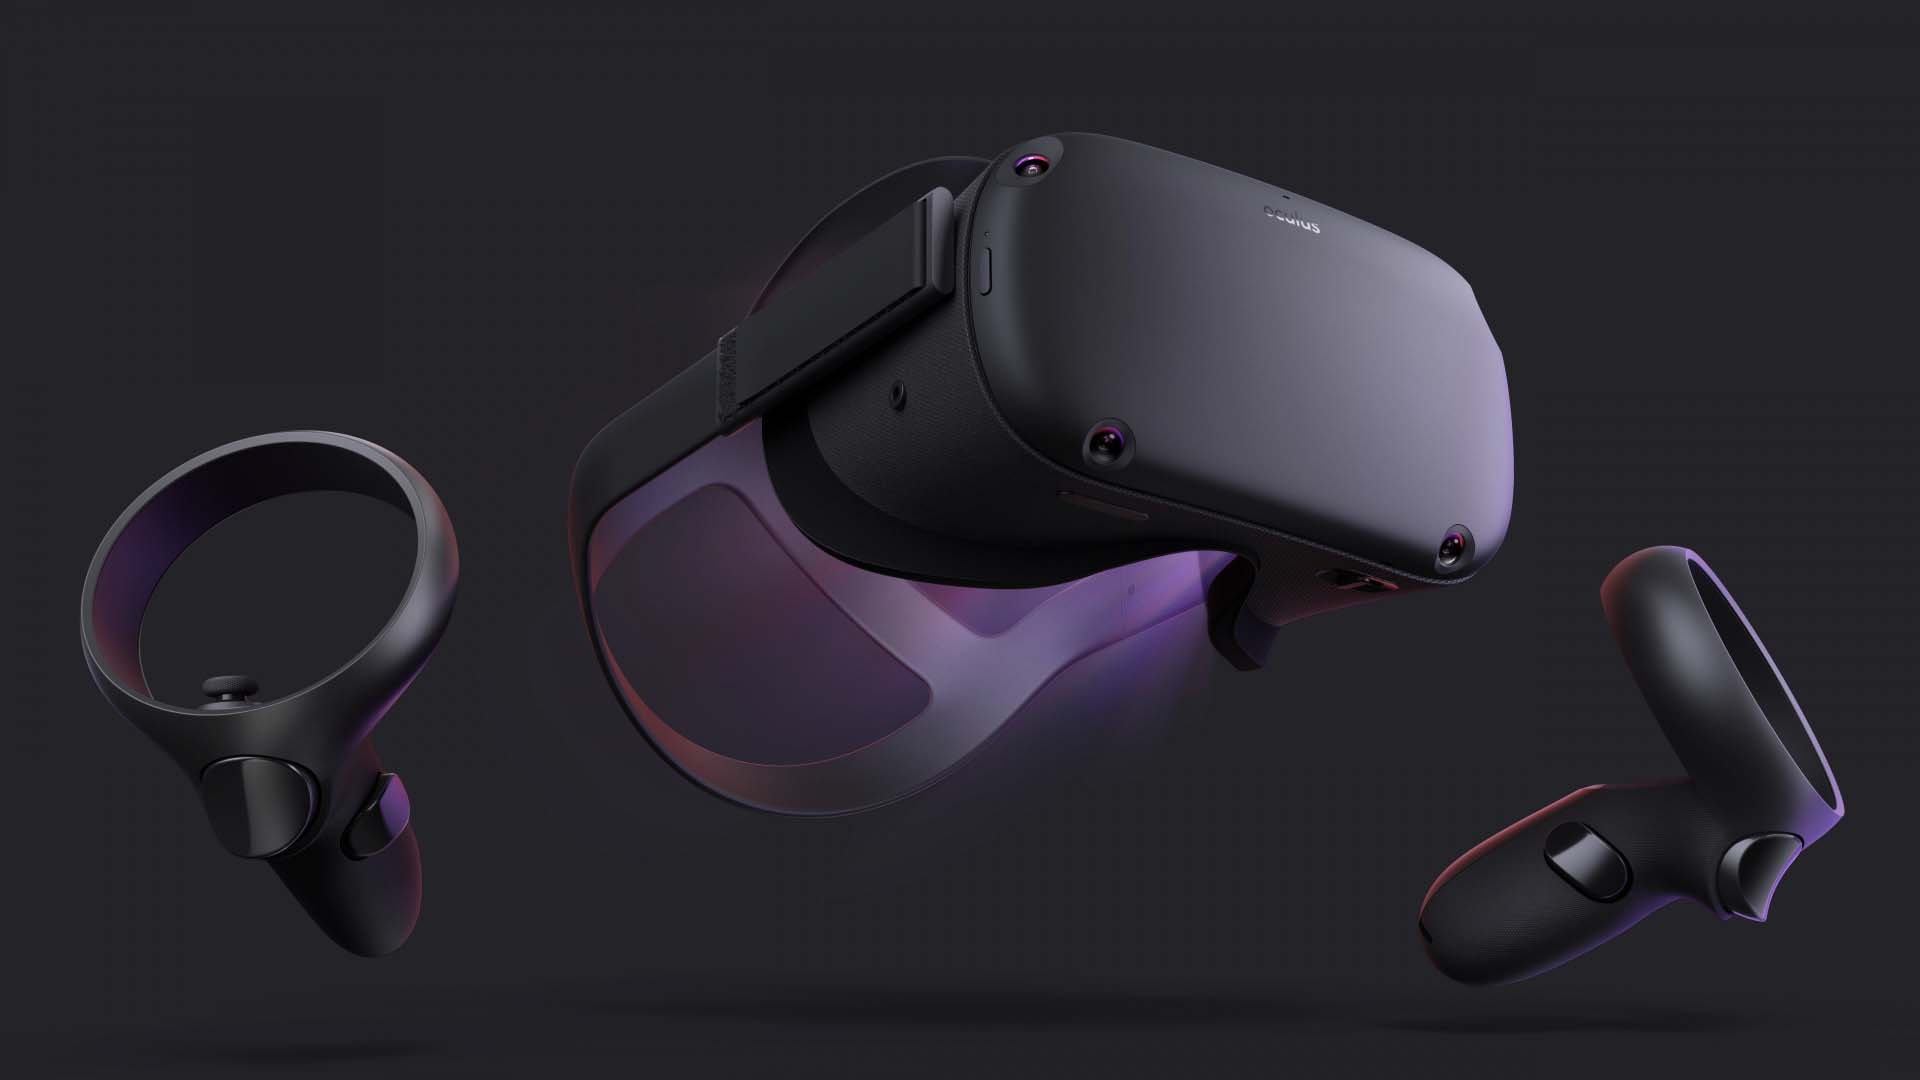
In a virtual reality setup, Oculus controllers are essential components that allow users to interact with the virtual environment and enhance their gaming experience.
As with any electronic device, these controllers require a power source, and understanding how to change their batteries is an essential skill.
Throughout this guide, you will find detailed instructions on how to replace the batteries in different models of Oculus controllers, including the popular Oculus Quest 2 and the second-generation Oculus Touch.
There are many types of batteries to choose from, including disposable batteries and rechargeable ones. In this article, we will discuss how to replace the batteries in your Oculus controller.
Oculus Quest 2 Controller Battery Replacement
Following are the requirements you need to follow in order to change the oculus quest 2 controller batteries:
Gather the necessary materials
- There are two AA batteries (either disposable or rechargeable, according to your preference)
Prepare the controllers
- Make sure that your Oculus Quest 2 headset is turned off and that your controllers are not currently paired
- Ensure that the controllers are placed on a clean, stable surface so that they are easy to access
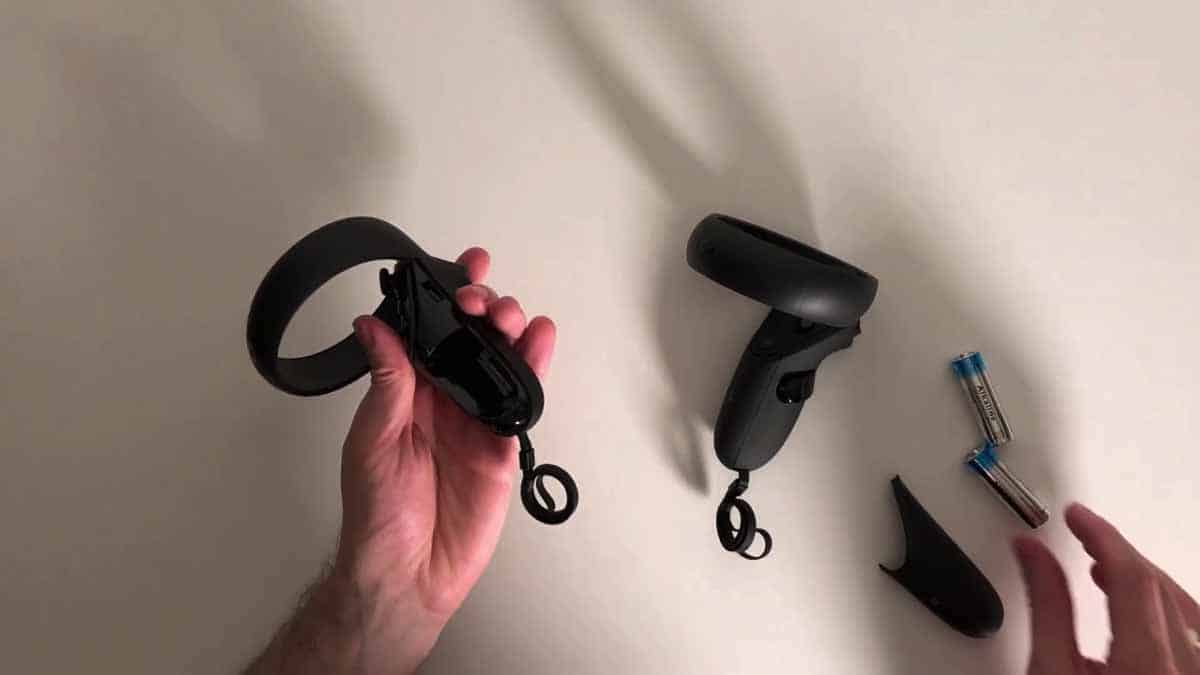
Locate the battery compartment
- The battery compartment for each controller is located near the wrist strap on the backside. In this case, it appears as a rectangular area with an arrow or release button indicating the direction in which it should be opened
Open the battery compartment
- Alternatively, you can push the cover in the direction indicated by the arrow in order to open the battery compartment
- When the compartment cover does not release, apply gentle pressure
Access the battery compartment
- To access the battery compartment, lift the cover gently once it has been released
- Ensure that you do not use excessive force or damage the controller or cover
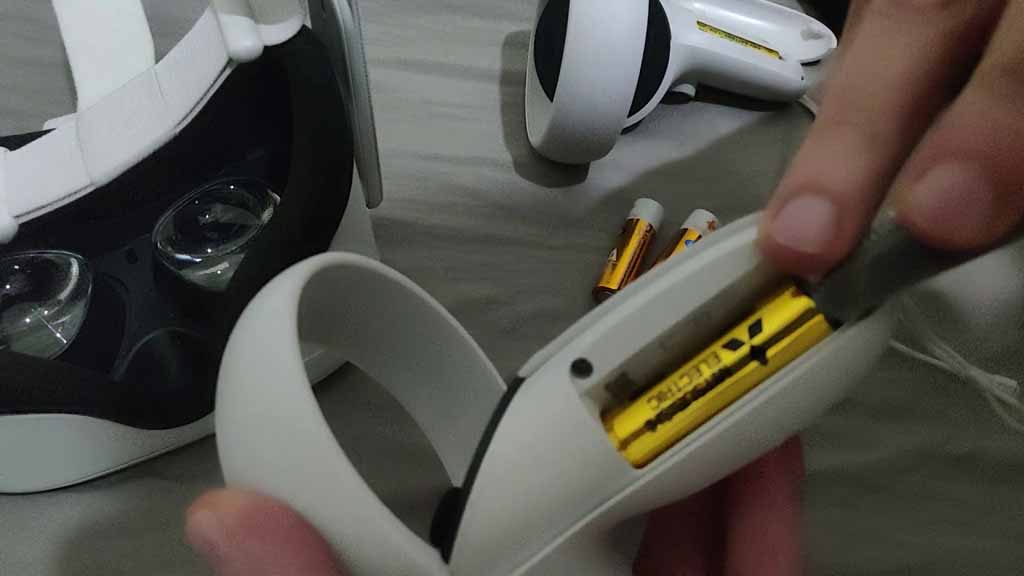
Remove the old batteries
- In the battery compartment, you will find the old batteries. Ensure that the new batteries are positioned correctly by paying attention to their orientation
- Recycle your old batteries according to your local regulations by carefully removing and disposing of them
Insert the new batteries
- Ensure that two new AA batteries are the same type and properly charged, if you are using rechargeable batteries
- The positive (+) and negative (-) ends of the batteries should be aligned with the markings inside the compartment
- Place the batteries in the compartment, ensuring that they are oriented correctly
- Make sure the batteries are securely installed and snugly fitted
Close the battery compartment
- Ensure that the battery compartment cover is aligned with the controller’s slot
- Push the cover back into place until the cover clicks or snaps into place
- Ensure that the cover is properly secured in order to prevent any issues related to the battery during gameplay
Repeat for the second controller
- Replace the batteries in the second controller according to the same procedure
Test the controllers
- Make sure your Oculus Quest 2 headset is turned on and that the controllers are working properly
- Make sure that the battery levels are displayed accurately in the Oculus Quest 2 interface
 Second-Generation Oculus Touch Controller Battery Replacement
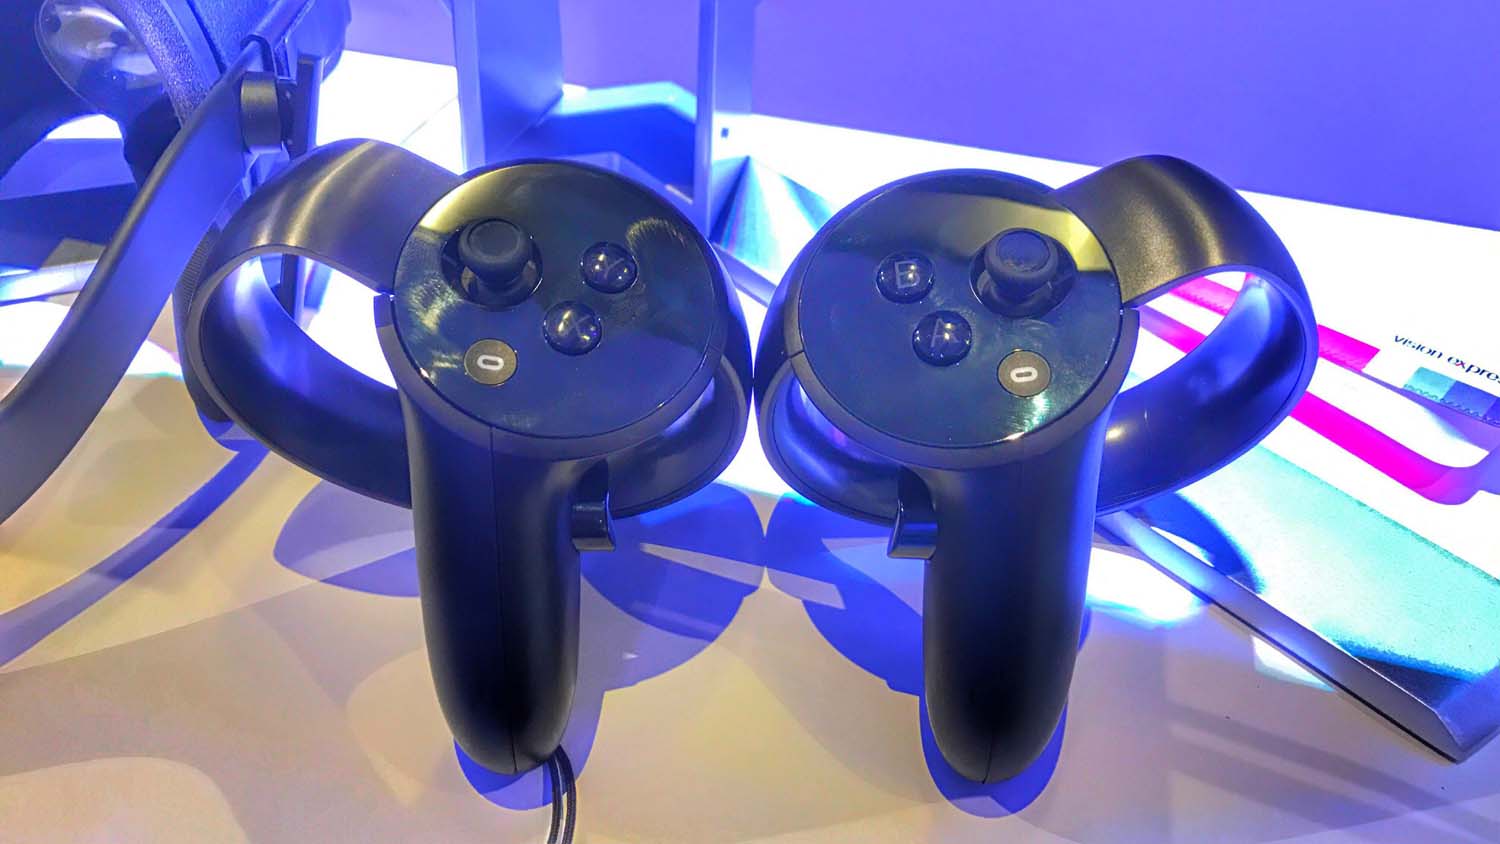 Second-Generation Oculus Touch Controller Battery Replacement
In order to replace the batteries on the Second-Generation Oculus Touch Controller, you must follow the following steps:
Gather the necessary materials
- The second-generation Oculus Touch controllers
- A micro-USB cable (which is usually included with the Oculus headset)
Prepare the controllers
- To prevent interference during the battery replacement process, make sure your Oculus headset is turned off
- Ensure that the controllers are placed on a stable surface so that they are easy to access
Locate the micro-USB port
- Located on each controller is a micro-USB port. On most controllers, it is located near the wrist strap on the bottom or side of the device.
Connect the micro-USB cable
- Connect the micro-USB cable to the first controller by plugging one end into the micro-USB port
- Ensure that the other end of the cable is connected to a powered USB port. The USB port on your computer, a USB wall adapter, or a charging dock compatible with your device can be used
Charging status indicator
- An LED indicator will appear on the controller as soon as it is connected to a power source
- Usually, the LED turns orange when the battery is low and charging and white when the battery is fully charged
Charging the first controller
- Ensure that the first controller is fully charged before using the second
- It is recommended that you leave it connected for a few hours or until the LED indicator becomes white
Charging the second controller
- Ensure that the micro-USB cable is disconnected from the first controller
- By connecting the micro-USB cable to a powered USB port, repeat steps 4-6 for the second controller
Rechecking the charging status
- Ensure that the LED indicators on both controllers are solid white (indicated by a solid white LED)
- In order to maximize gameplay time, both controllers should be fully charged before being used
Disconnecting the controllers
- After the controllers have been fully charged, they should be disconnected from the micro-USB cable
- Make sure that the micro-USB ports are not damaged during the disconnection process
Testing the controllers
- If your Oculus headset does not work, turn it off and make sure the controllers are working
- Make sure that the controllers are charged and ready to play by checking the battery levels in the Oculus interface
 Battery Options and Considerations
 Battery Options and Considerations
When it comes to choosing batteries for your Oculus controllers, you have several options. For a more sustainable and cost-effective solution, consider investing in rechargeable AA batteries rather than disposable ones.
When using rechargeable batteries, please be aware that they will have to be removed and charged externally. Make sure to invest in a charging dock so that the headset and controllers can be charged at the same time.
One of the most popular options for rechargeable batteries is the Panasonic Eneloop Rechargeable Batteries, which can be recharged over 2100 times.
Ensuring Battery Life and Controller Maintenance
On average, Oculus controllers can last between 30 and 50 hours of playtime, depending on usage and battery brand. Check the battery life of your controllers by accessing the Menu Bar in the Home View and looking for the battery indicators under the symbols representing the headset and controller.
If you are experiencing joystick drift, it is recommended that you disassemble the Oculus Quest 2 controller. In any case, it is important to note that disassembling the product may void the warranty and lead to further damage.
Joystick drift issues can be resolved by using a contact cleaner and following a separate disassembly guide.
Conclusion
It is essential to be able to change the batteries in your Oculus controllers so that you can play virtual reality games uninterrupted.
No matter if you own an Oculus Quest 2 or a second-generation Oculus Touch controller, the process is straightforward.
In this guide, you will be provided with instructions for replacing the batteries in your Oculus controllers so that you may continue playing immersive games.
Make sure you select the appropriate battery option for your needs and dispose of old batteries in a proper manner. Getting ready to dive into the virtual world begins by grabbing your Oculus controllers and powering them up.